These are the steps I took to construct the Mirrorphone 2.0. Please feel free to contact me with suggestions or questions.
The range is two octaves (C4-C6).
Bottom Row: C4, D, E, F, G, A, A#, B
Middle Row: C5-C6 (chromatic)
Top Row: Quarter-tone pitches F#+, B+, G#+
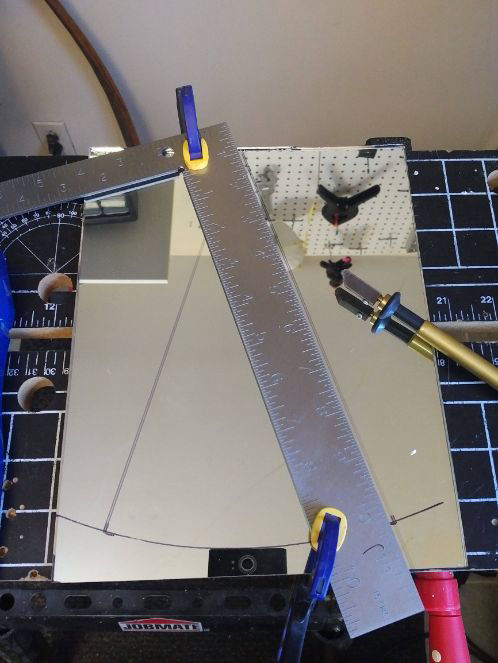
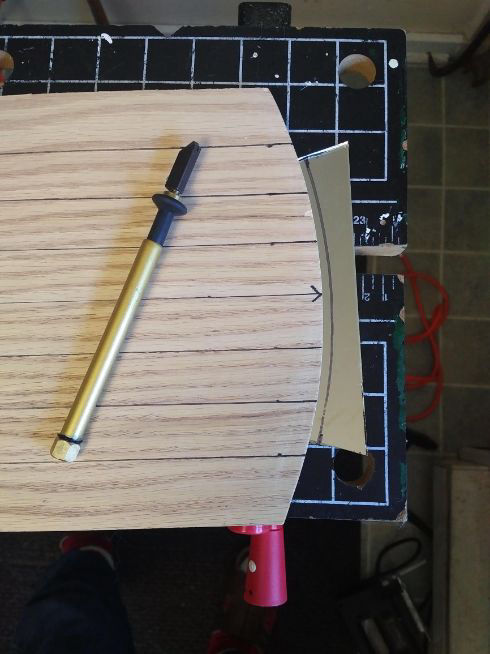
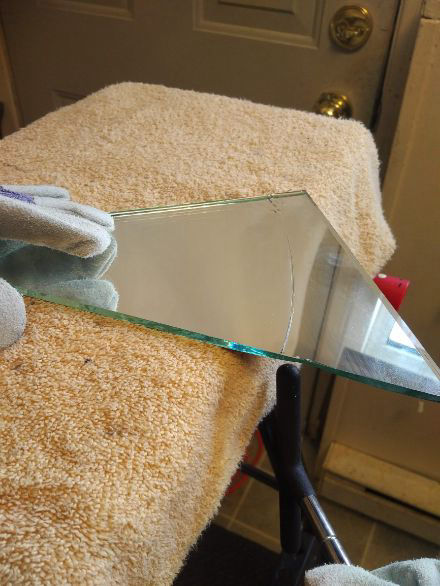
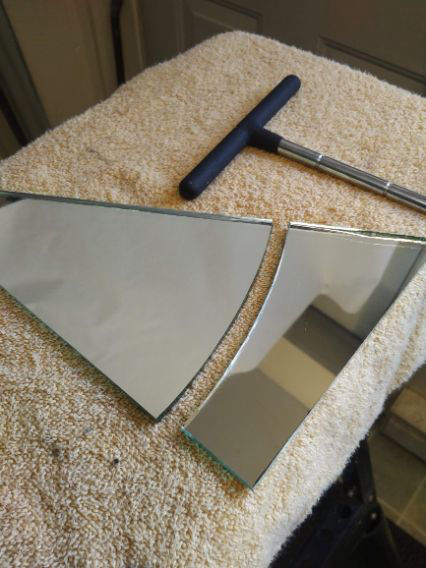
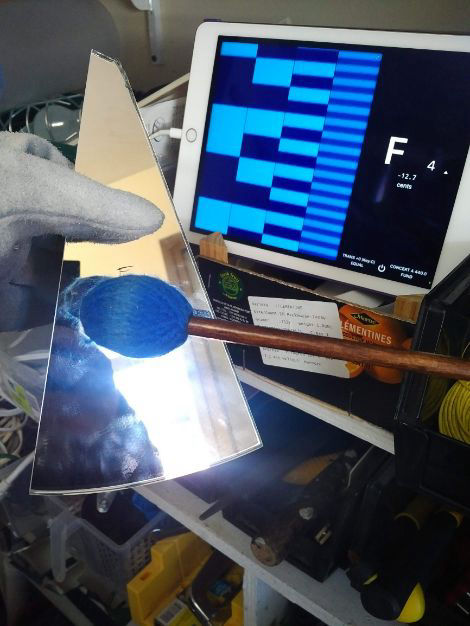
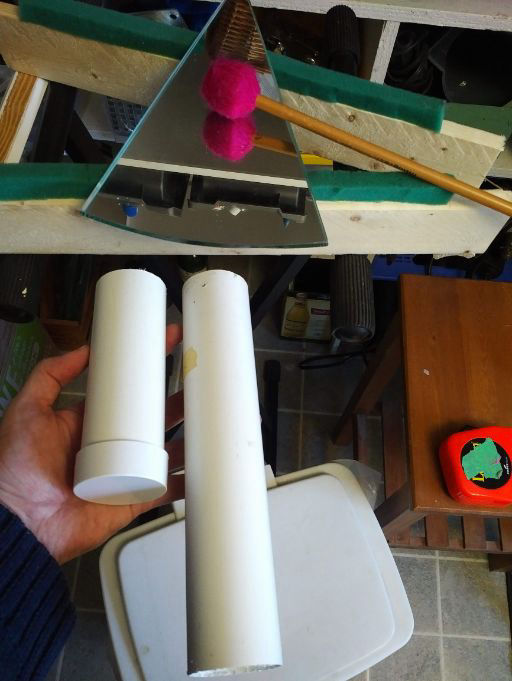
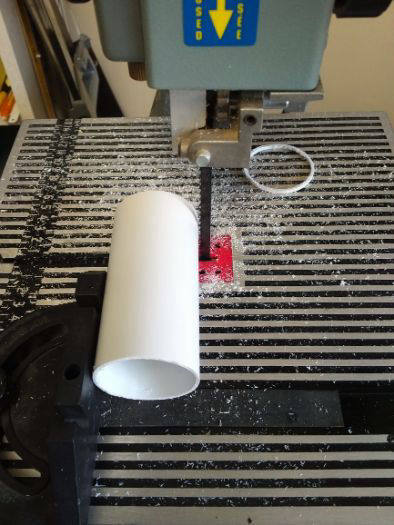
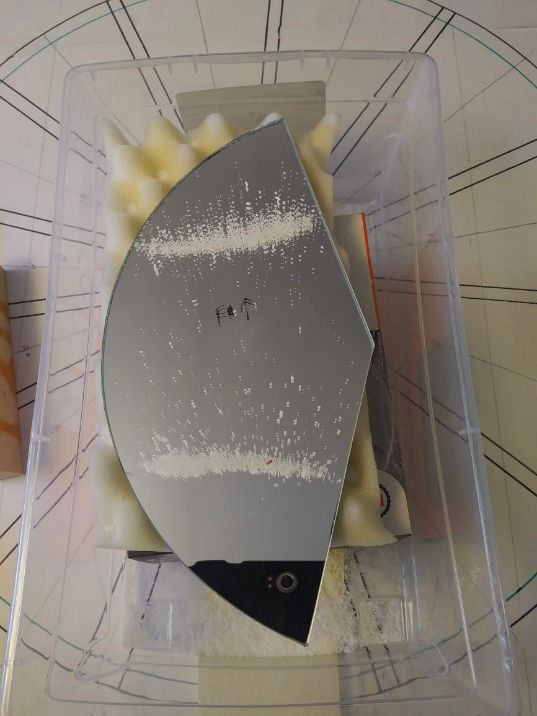
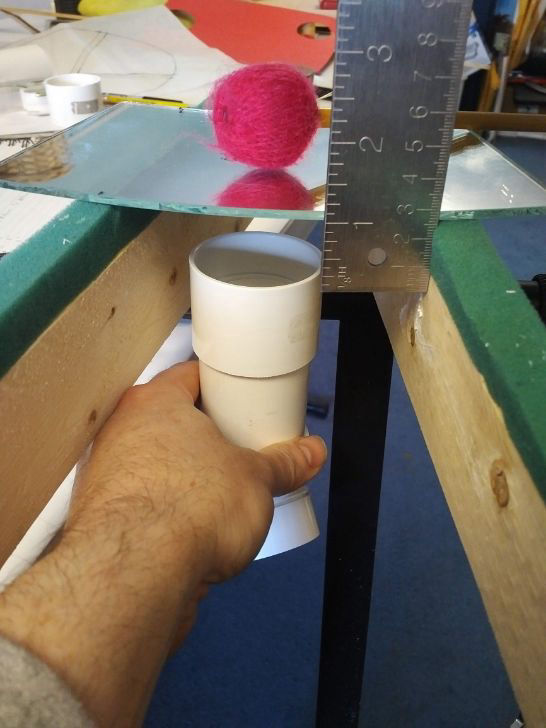
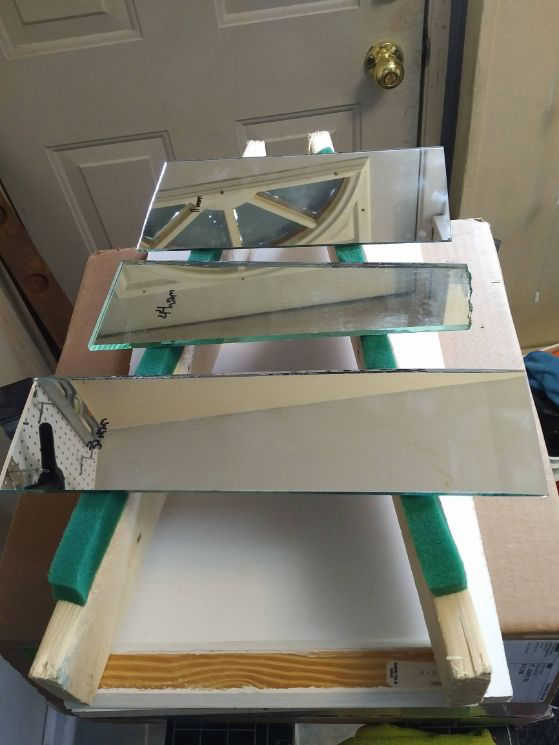
Experimenting with different thicknesses of scrap glass to help decide which has the better tone and will work in the desired pitch range. I ended up choosing 3mm for the lower piches (bottom row), and 5mm for the rest.
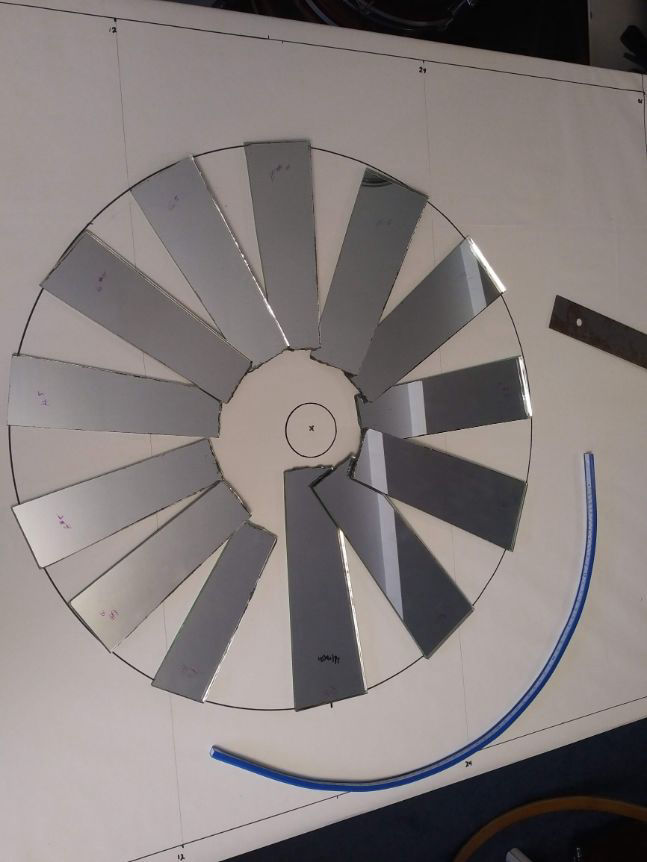
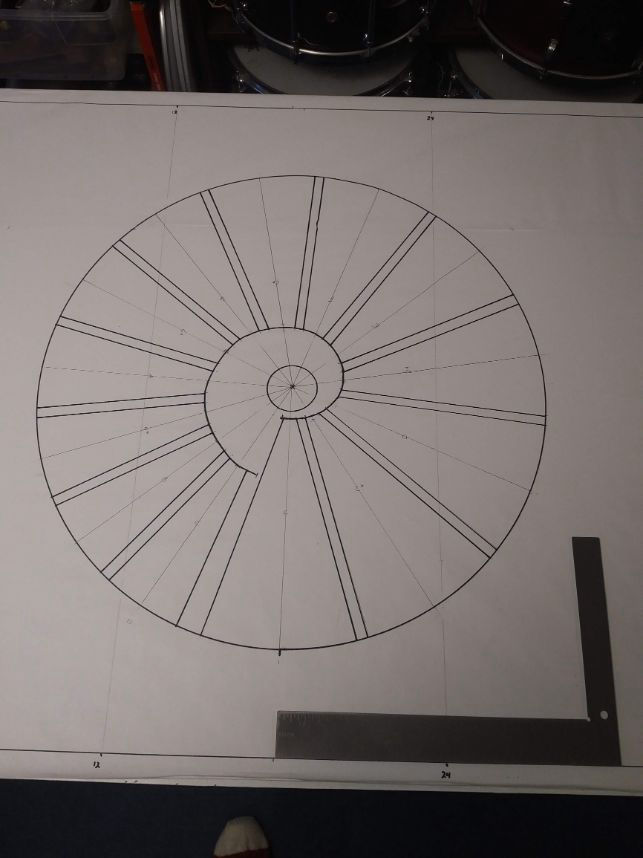
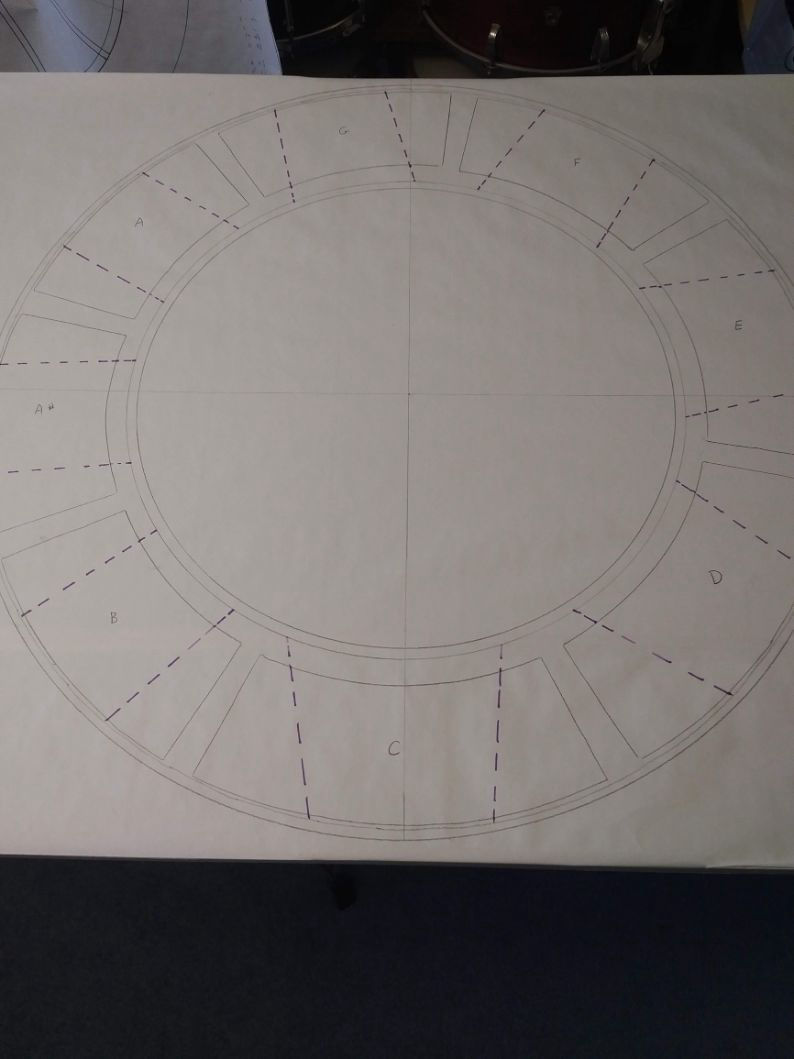
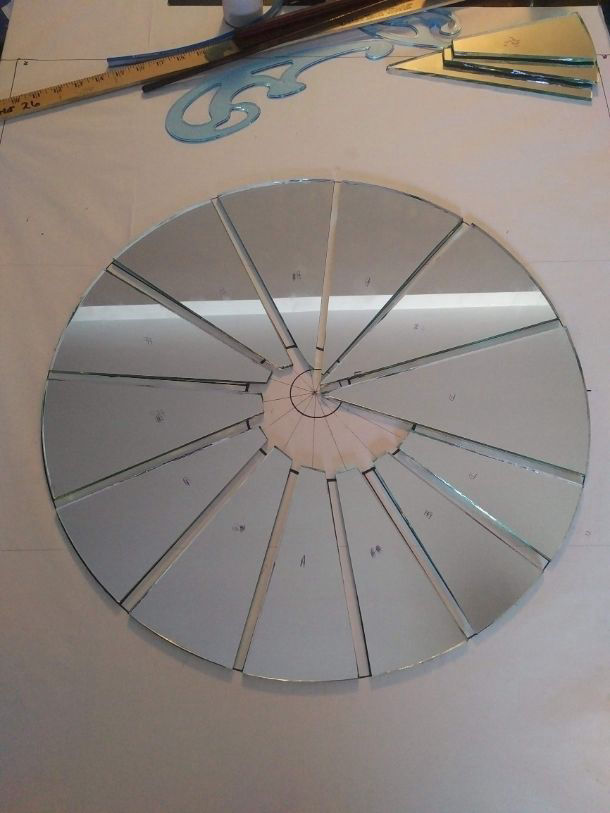
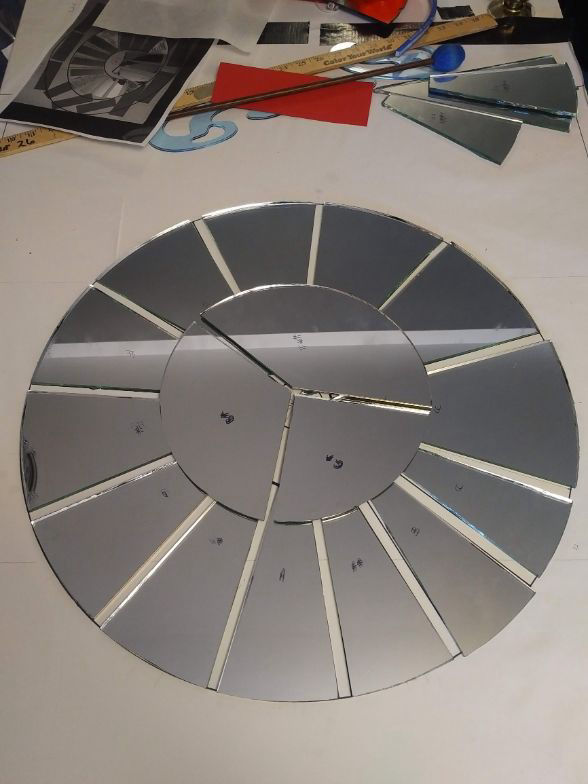
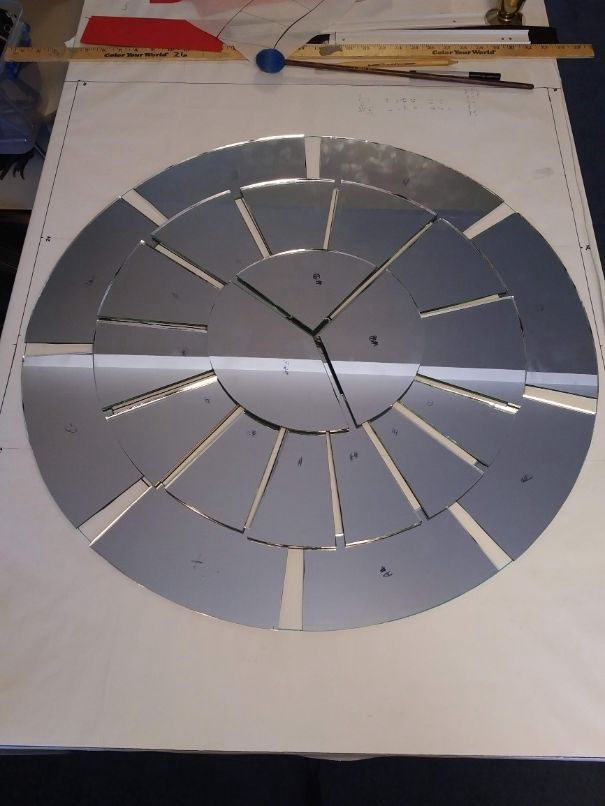
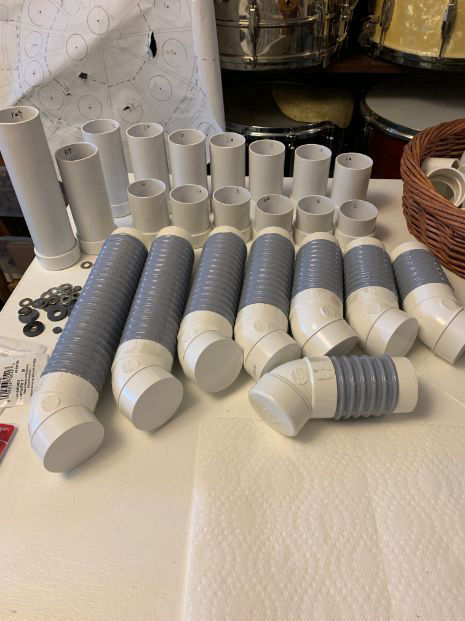
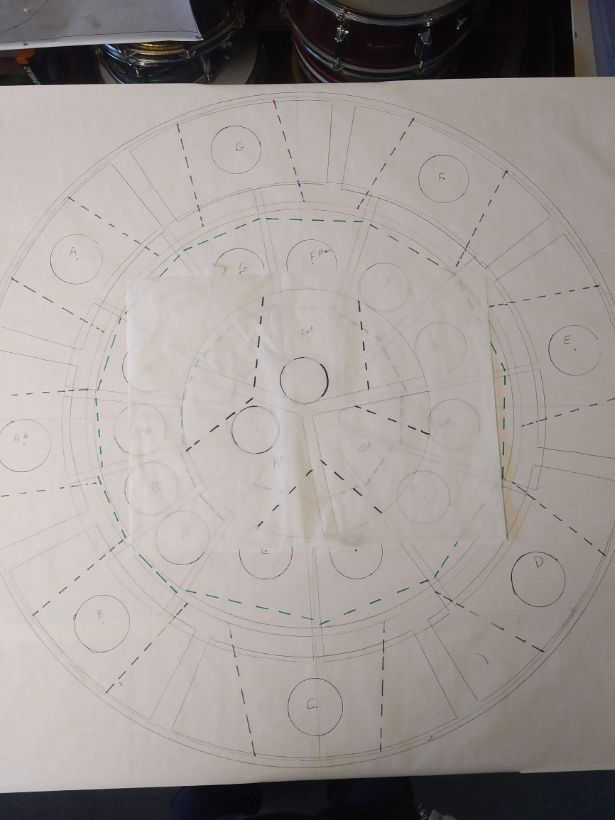
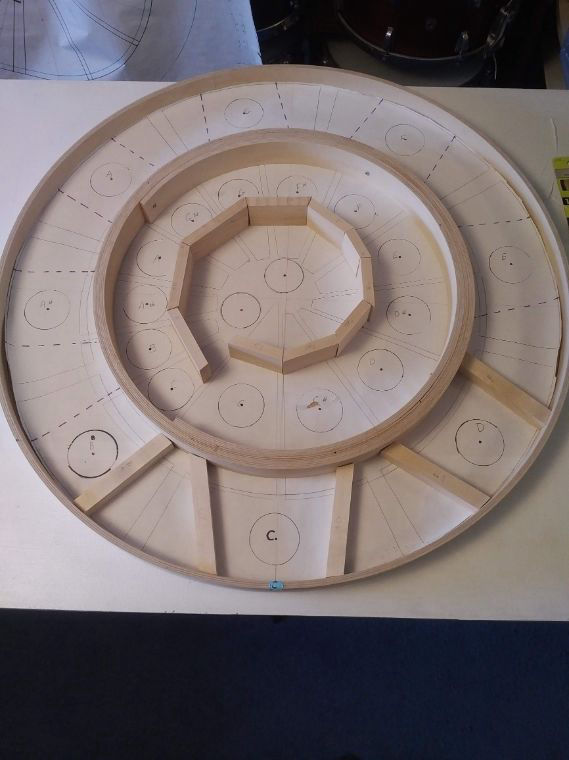
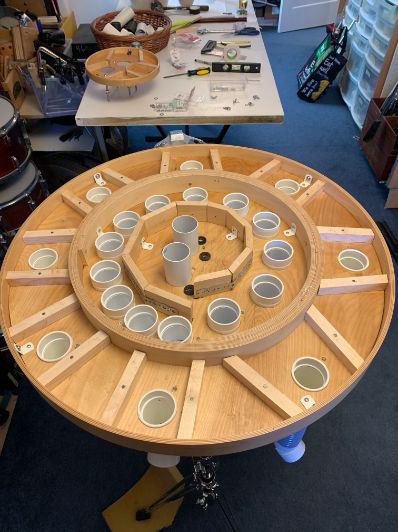
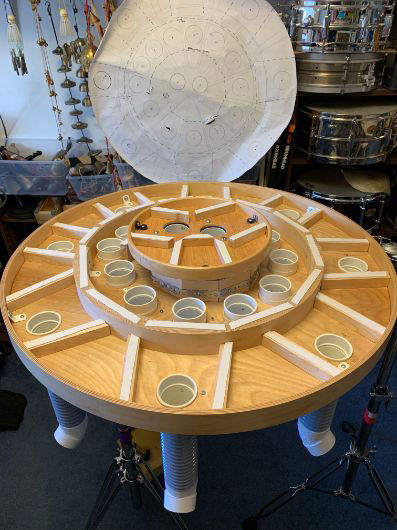
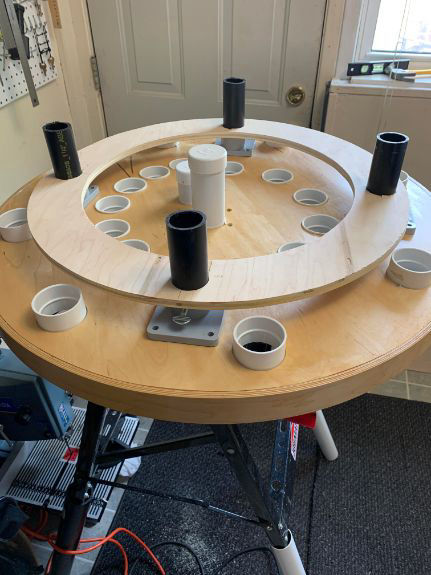
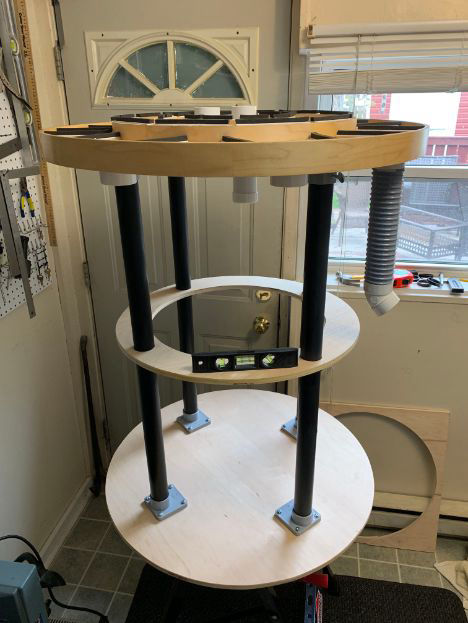
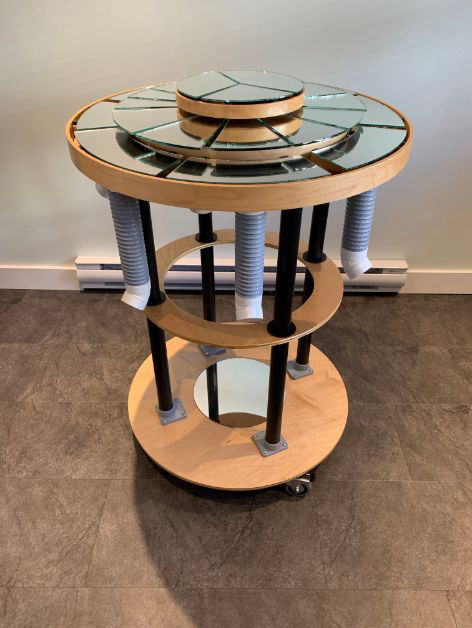
Using old pitches from the original mirrorphone in different arrangements to determine the potential size of the instrument. The only predetermined parameters are that the instrument is round, and can fit through a standard door (28" diameter).
The note shapes for the middle row are created, based on a good estimation of the length of each pitch (after some experiments with scrap glass).
Mapping out the estimated positions of the lower notes. This could change once the middle row is created and measured, so for now it is an estimation. At this point, not much more time is spent mapping anything out, as all dimensions will really be determined by the exact size of the middle row once it is tuned.
Ready to start cutting the 5mm mirror glass that will be used for the middle and top row pitches.
Note shapes are transferred from the map to the glass, with the help of tracing paper.
A wooden template is created so each pitch has the same outside curve, which is then scored with the glass cutter, using the template as a guide.
The cleanest way to finish the break is to tap the glass from underneath with a light rubber coated hammer.
Glass generally does not want to break in a curve, so it takes a while to get the hang of it. The longer the curve, the more difficult to get a clean break.
The 'blanks' are finished for the middle row. These will eventually need to be shortened and sanded for the fine tuning. Each pitch is deliberately a bit too long, to leave room for the tuning.
The same process is followed for the top layer.
Knowing the final shape of the middle row, the bottom notes can then be created, this time using the 3mm glass.
Each pitch is tuned with the help of a strobe tuner.
The fine tuning involves a diamond sander bit, and the glass is constantly dipped in water throughout the process. This keeps the glass from chipping, and reduces glass dust - which is not fun to breathe.
I rigged up a wet sanding wheel to smooth all the edges of each glass bar.
Now onto resonators, which will amplify the sound. Early experiments will determine if I will use capped tubes, or open tubes. Each will work, but the open tubes will be twice as long because of the sound's wavelength. Ultimately, the capped tubes are chosen, as they seem to be better amplifiers.
The tubing is 2" central vac pvc pipe. Very easy to work with, but needs to be cut in a well-ventilated environment.
The tubes are tuned by length. (Geek alert: when capped, the tube length is one quarter the length of the sound wave. They need to be a bit short (sharp) to account for 'end correction' at the top of the tube).
Matching each tube with it's glass to make sure that the sound of the whole instrument is consistent. If the tube length is a bit off it can cancel the resonance and deaden the sound.
Resonators are completed.
With all the glass and tubes now cut, it's on to the frame. The rails of the frame must line up under the nodes (dead spots) of the bars. In a rectangular bar, each node would be easily determined at 22.5% the length of the bar. However curves are more complicated, so I did a salt test to find the nodes. The bar is covered in salt, and then tapped with a mallet, causing the salt to bounce until all of the salt moves to the nodes, which are then marked on each bar.
It is also important to measure the optimum distance between the bar and the resonator, so that the frame will be constructed in a way to accomodate accurate placement of the resonators. If they are too high, they will choke the sound, and if they are too low they will not amplfy very well.
Now that the pitches are all fine tuned, and their nodes are determined, it can all be marked on the map with dotted lines. The proper placement of the rails is now easy to determine.
The top layer (quarter tone pitches) and all the resonator positions are now finalized and marked on the map.
The process of making the wood frame can now begin, using the dotted lines as a guide for all the rails.
This took quite a while. A lot of tricky angles!
The top layer needs to be attached in a way so as not to touch the middle row, even though it will overlap. Precise support bolt positions are determined.
All the wood work for the upper part of the instrument is now complete.
Resonators are attached. They will be removable for transport.
Double-sided tape is used to eventually secure the foam weather-stripping that will support each bar.
Now work on the lower part of the frame begins. Here, I am using a tap to create threaded holes for thumbscrews. These brackets will secure the main support legs of the instrument.
Determining the positioning of the middle support ring.
The last few adjustments are made to level everything out.
It is easiest to varnish the wood before bolting it all together.
All assembled, and the glass bars are attached, using double-sided tape, and resting on foam weatherstripping at their nodal points. Now let's play!
Designed with
Mobirise